Does your feline friend possess an insatiable urge to shred your furniture? Spare your sofa and invest in a DIY cat scratching post! Creating a sturdy and attractive scratching post at home is easier than you might think, offering a cost-effective solution to this common pet owner dilemma. Forget expensive store-bought options – with readily available materials and a little time, you can build a personalized scratching post perfectly tailored to your cat's preferences and your home's décor. You can even tailor the design to perfectly match your existing furniture!
This guide will walk you through a simple, step-by-step process to construct a durable scratching post your cat will love. From choosing the right materials to ensuring stability, we'll cover everything you need to know to build a scratching post that stands up to even the most enthusiastic scratcher. Let's get started!
Preparation and Safety Guidelines
- Half-inch plywood
- Two by fours
- Sisal rope
- Carpet scraps
- Wood screws
- Hot glue gun
- Staple gun
- Utility knife
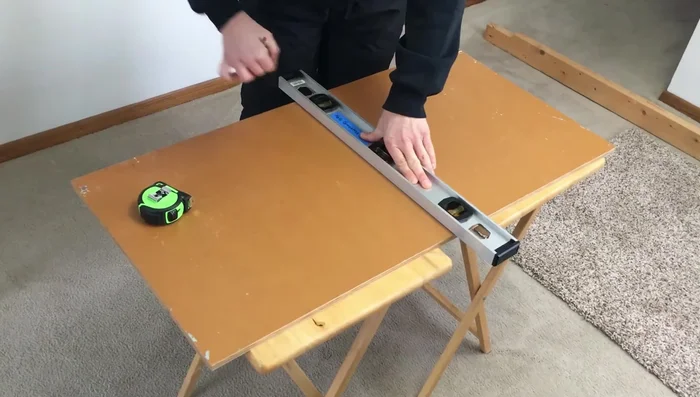
- Tape measure
- Drill
- Sandpaper
- Optional: Carpet tape
- Use only non-toxic materials. Avoid fabrics treated with pesticides or chemicals that could harm your cat if ingested.
- Ensure the base is wide and stable enough to prevent tipping, especially for larger cats. Consider adding weight to the base for extra stability.
- Supervise your cat with any new scratching post until you're sure it's sturdy and they are using it safely. Regularly check for any loose parts or damage.
Step-by-Step Instructions
Prepare the Base and Post
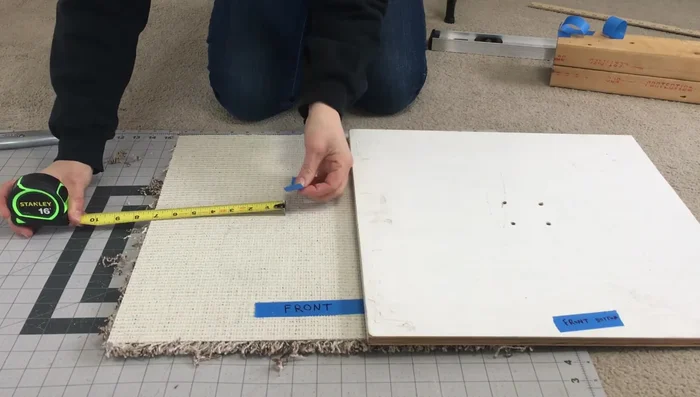
- Cut the half-inch plywood to an 18x18 inch square for the base.
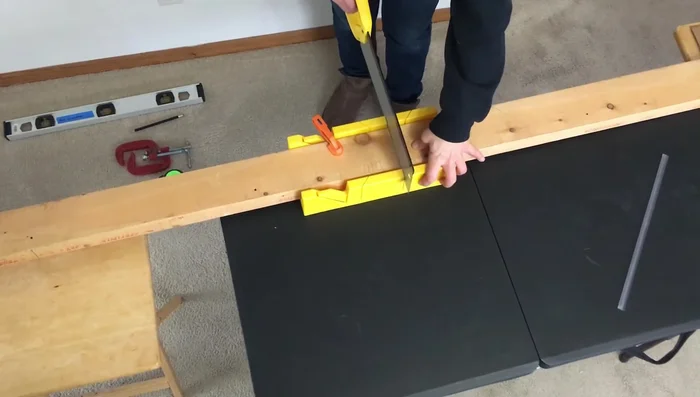
- Cut two two-by-fours to three feet long for the post.
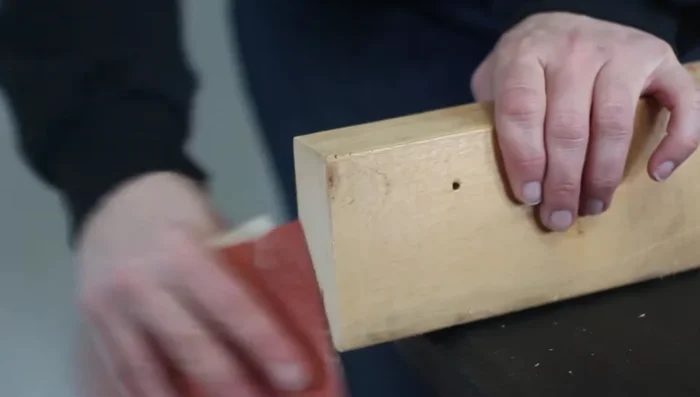
- Sand the wood to prevent splinters.
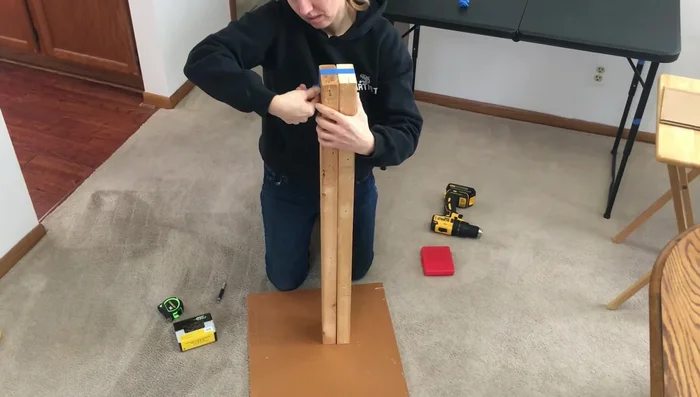
- Tape and screw the two two-by-fours together to create a sturdy post.

Prepare the Base and Post Prepare for Assembly
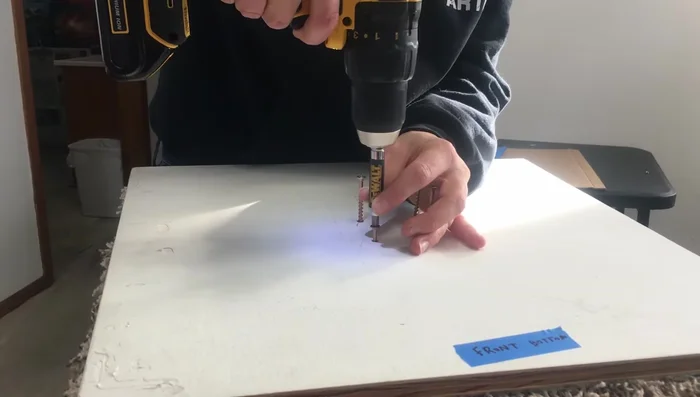
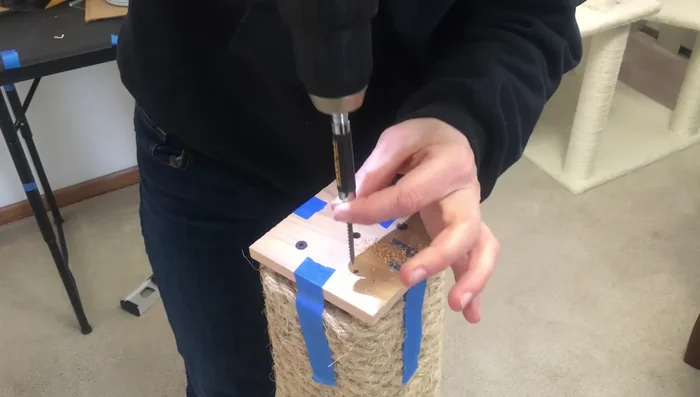
- Pre-drill holes in the plywood base to attach the post, ensuring it's centered.
- Cut a hole in the carpet for the post to fit through, ensuring proper centering.
Prepare for Assembly Wrap the Post
- Wrap the sisal rope around the two-by-four structure using hot glue and staples for a secure hold.
Wrap the Post Attach the Carpet
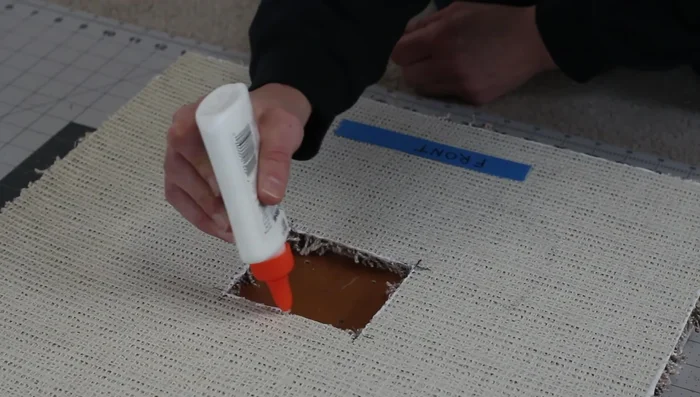
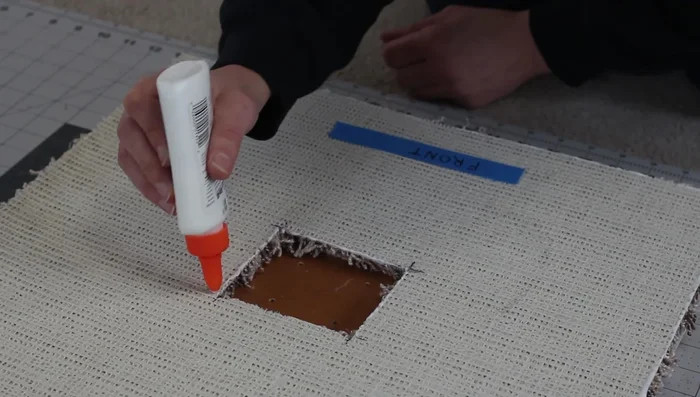
- Glue the edges of the carpet to prevent fraying.
- Attach the carpet to the plywood base using carpet tape (or hot glue/double-sided tape).
Attach the Carpet Assemble the Scratching Post
- Attach the post to the plywood base using screws.
Assemble the Scratching Post Finishing Touches
- Add a top cap (optional) for a finished look.
Finishing Touches


Read more: Top 10 Tips: Train Your Cat to Love Their Scratching Post!
Tips
- Use half-inch plywood for a sturdy base.
- Pre-drilling holes prevents wood splitting.
- Use plenty of hot glue and staples when wrapping the sisal rope to ensure durability.
- Use carpet tape or hot glue to secure the carpet.