Does your feline friend have a penchant for shredding your furniture? Spare your sofa and invest in a DIY cat scratching post! This project offers a budget-friendly alternative to expensive store-bought options, allowing you to create a sturdy and attractive scratching post tailored to your cat's preferences and your home's décor. Forget flimsy, easily-toppled structures; this guide will walk you through building a scratching post that can withstand even the most enthusiastic scratching sessions, saving you money and your sanity.
We'll use readily available and inexpensive materials to build a post that's both visually appealing and exceptionally durable. From selecting the right type of carpeting to securing the base, each step is meticulously detailed to ensure a successful project, no matter your DIY experience level. Ready to get started and build the purrfect scratching post for your beloved companion? Let's dive into the step-by-step instructions.
Preparation and Safety Guidelines
- Pallet wood
- Carpet scraps
- Drywall screws
- Router with round-over bit
- Horseshoe-shaped nails
- Carpet tacks
- Wood glue
- Screws
- Linseed oil
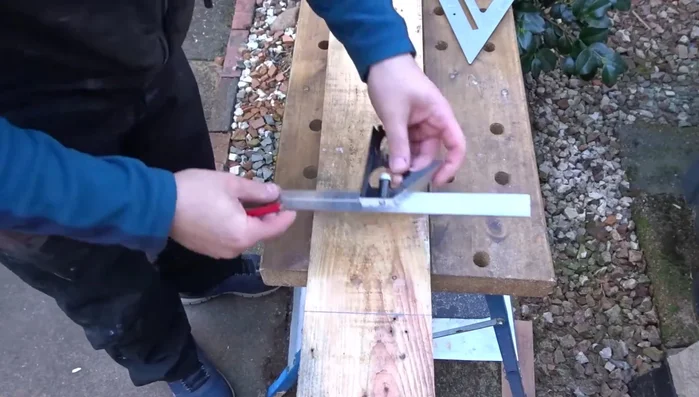
- Combination square
- Miter saw
- Solvent-free adhesive
- Measuring tape
- Pencil
- Drill
- Sandpaper
- Use non-toxic materials only. Avoid paints, stains, or fabrics containing chemicals that could be harmful to your cat if ingested.
- Ensure the base is wide and heavy enough to prevent tipping, especially with larger cats. Consider adding weight to the base if necessary.
- Regularly inspect the scratching post for damage or loose parts. Replace or repair any worn-out components to prevent injury.
Step-by-Step Instructions
Construct the Post
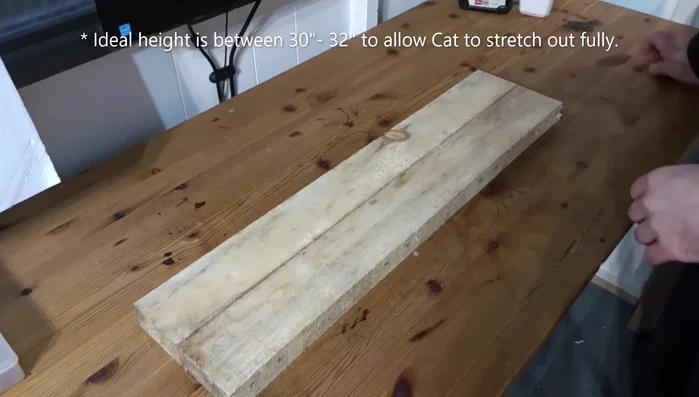
- Glue and screw together two thick pieces of pallet wood (approx. 25 inches each) to create a square post. The final height, including base and top, should be around 30-32 inches.
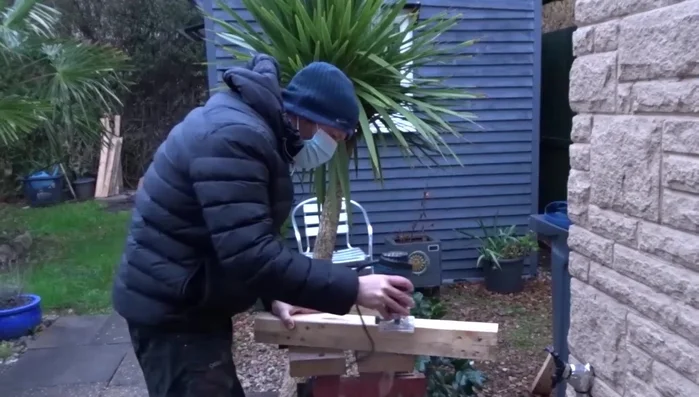
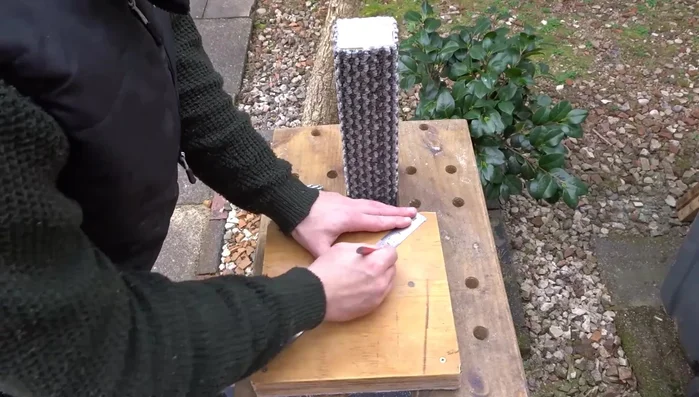
- Use a router with a round-over bit to smooth the edges of the square post. This makes carpet application easier.

Construct the Post Prepare for Carpeting
- Mark a central line on one side of the post to guide carpet placement.
Prepare for Carpeting Apply Carpet to Post
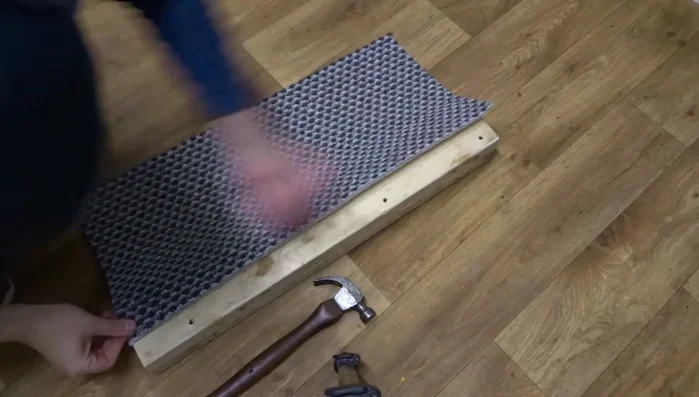
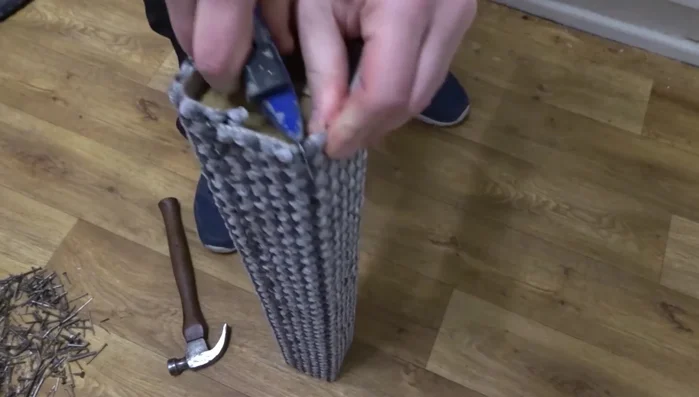
- Use horseshoe-shaped nails to attach carpet scraps to the post, following the center line as a guide. Wrap tightly and secure with more nails.
- Tuck the excess carpet at the top, cut into the corners, and secure with carpet tacks.
Apply Carpet to Post Create and Attach the Top Piece
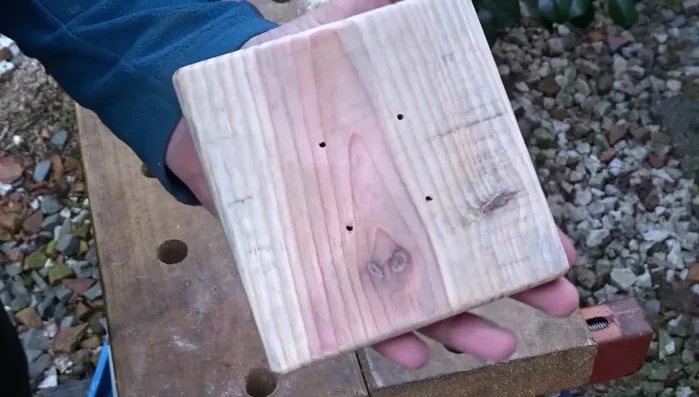
- Cut a square piece of pallet wood to create a top for the post. Round over the edges and drill pilot holes for screws.
- Attach the top piece to the post using screws, ensuring it's centered. Apply linseed oil to protect the wood.
Create and Attach the Top Piece Construct and Cover the Base
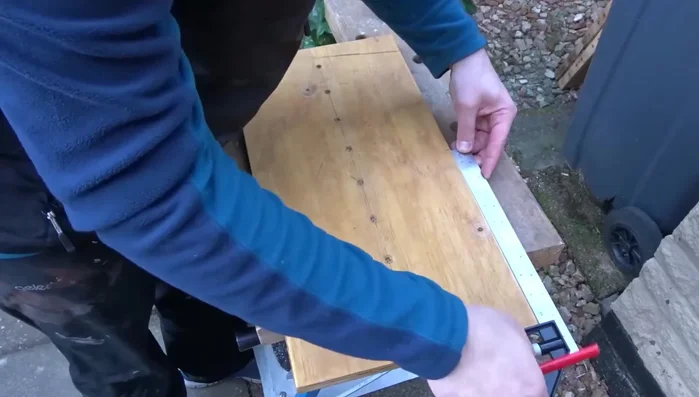
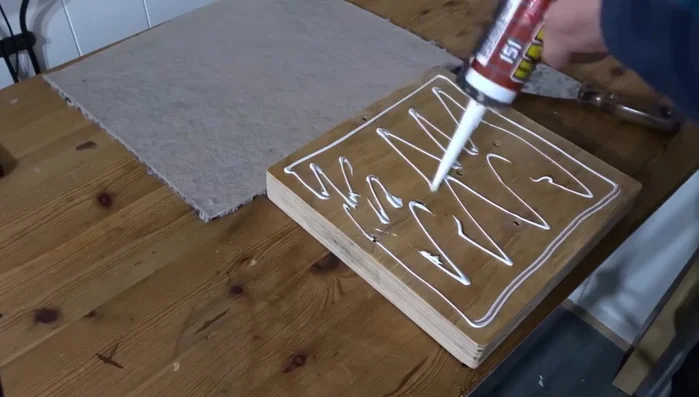
- Cut a square (approx. 30cm x 30cm) from a piece of plywood. Laminate two pieces together for added thickness and stability.
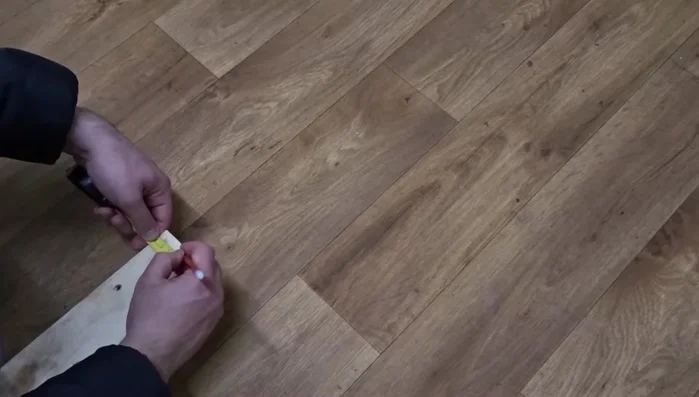
- Apply solvent-free adhesive to the plywood base and attach carpet scraps. Secure with weights until the adhesive dries. Trim excess carpet.
Construct and Cover the Base Assemble and Finish
- Drill pilot holes in both the post and base to ensure alignment. Attach the post to the base using screws.
- Apply a coat of linseed oil to the base edges and buff off the excess.
Assemble and Finish
Read more: Top 10 Tips: Train Your Cat to Love Their Scratching Post!
Tips
- Ideal height for a cat scratching post is between 30 and 32 inches.
- Use a center line to make carpet application easier and neater.
- Laminating the base adds significant stability and weight.
- Solvent-free adhesive ensures a strong and lasting bond for the base carpet.