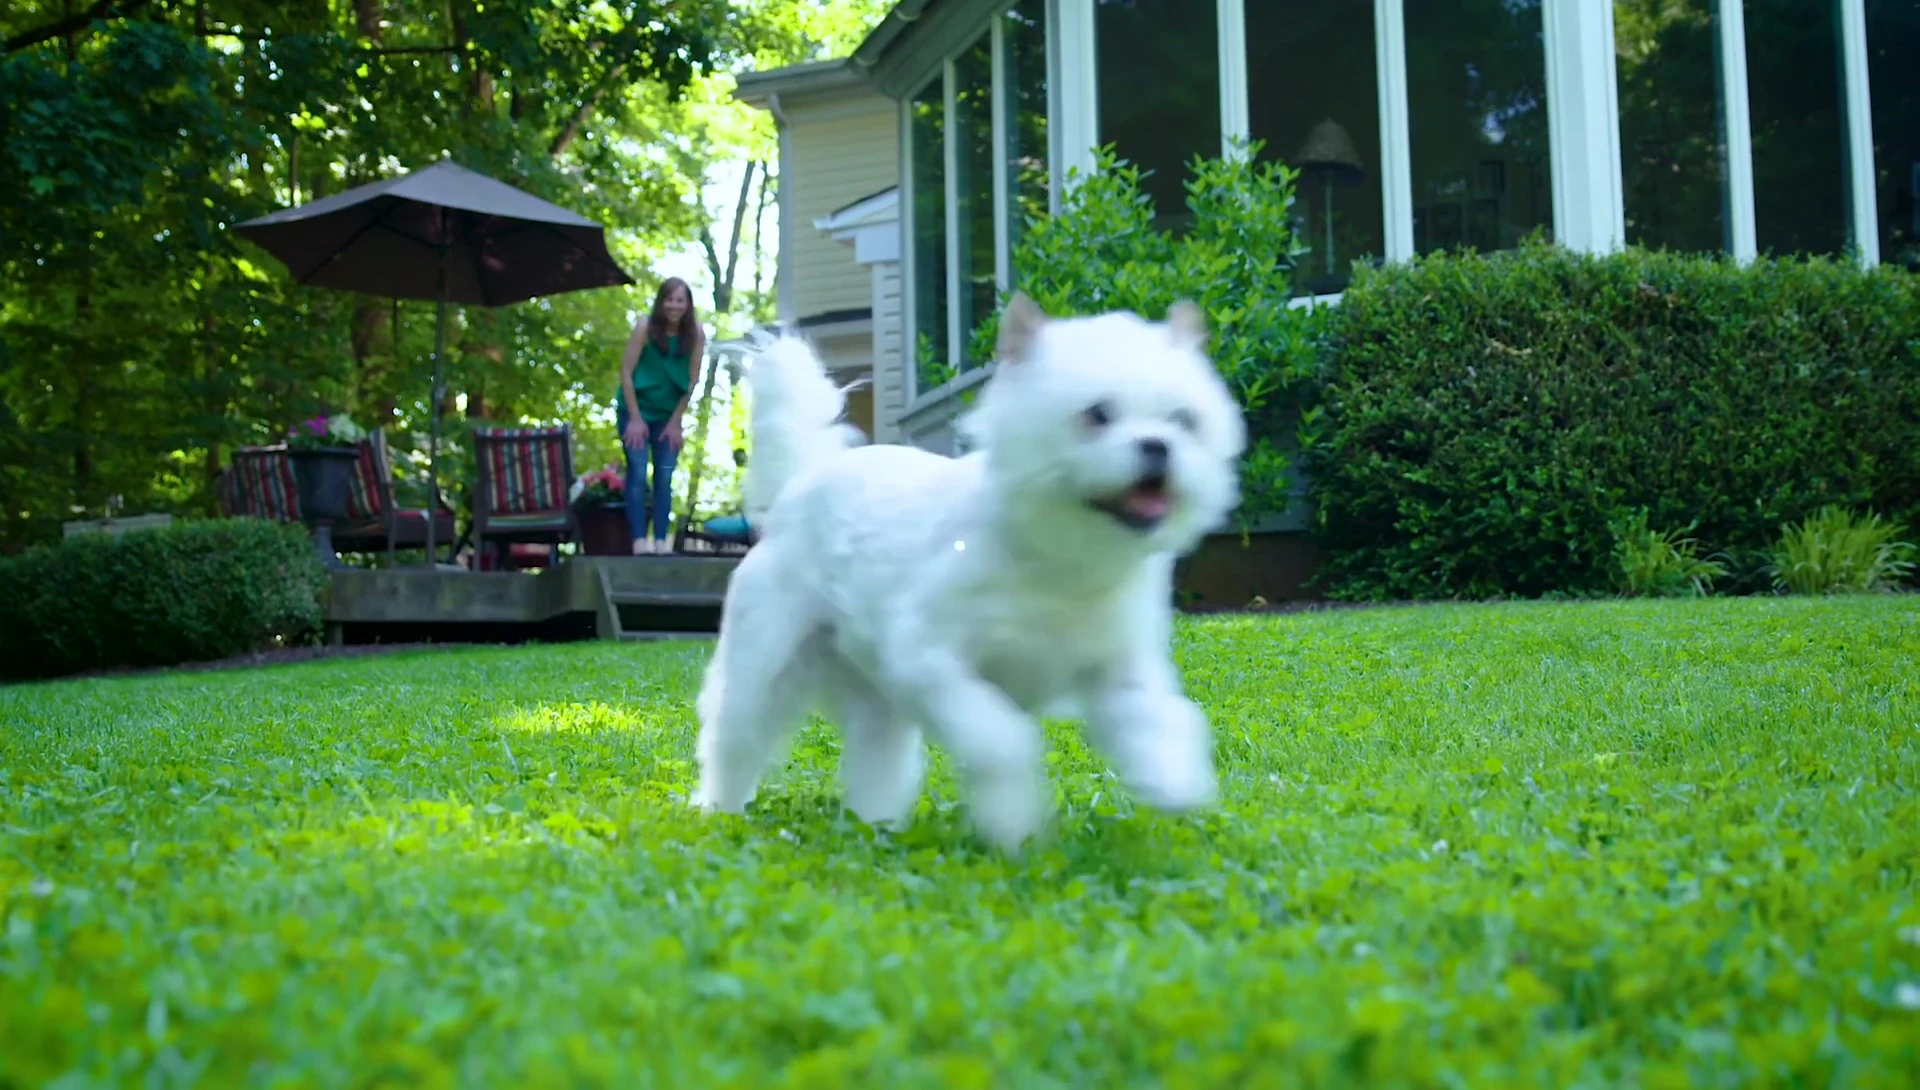
Regular nail trims are crucial for your dog's health and comfort, preventing painful overgrowth and potential injuries. However, many pet owners find the process daunting, leading to stress for both dog and owner. This guide demystifies dog nail trimming, offering a step-by-step approach to make the experience positive and painless. We'll cover the essential tools, highlighting the pros and cons of different clippers to help you choose the best option for your furry friend. Learning proper techniques is vital to avoid accidentally cutting the quick, the sensitive area containing blood vessels and nerves.This comprehensive guide will equip you with the knowledge and confidence to tackle nail trims successfully. We emphasize the importance of positive reinforcement training, guiding you through the process of familiarizing your dog with the clippers and rewarding calm behavior. From choosing the right tools and preparing your dog to mastering the trimming technique, we'll provide clear instructions and helpful tips to ensure a smooth and stress-free experience for both you and your canine companion. By the end, you'll have a routine that keeps your dog's nails healthy and your relationship strong.
Pros And Cons
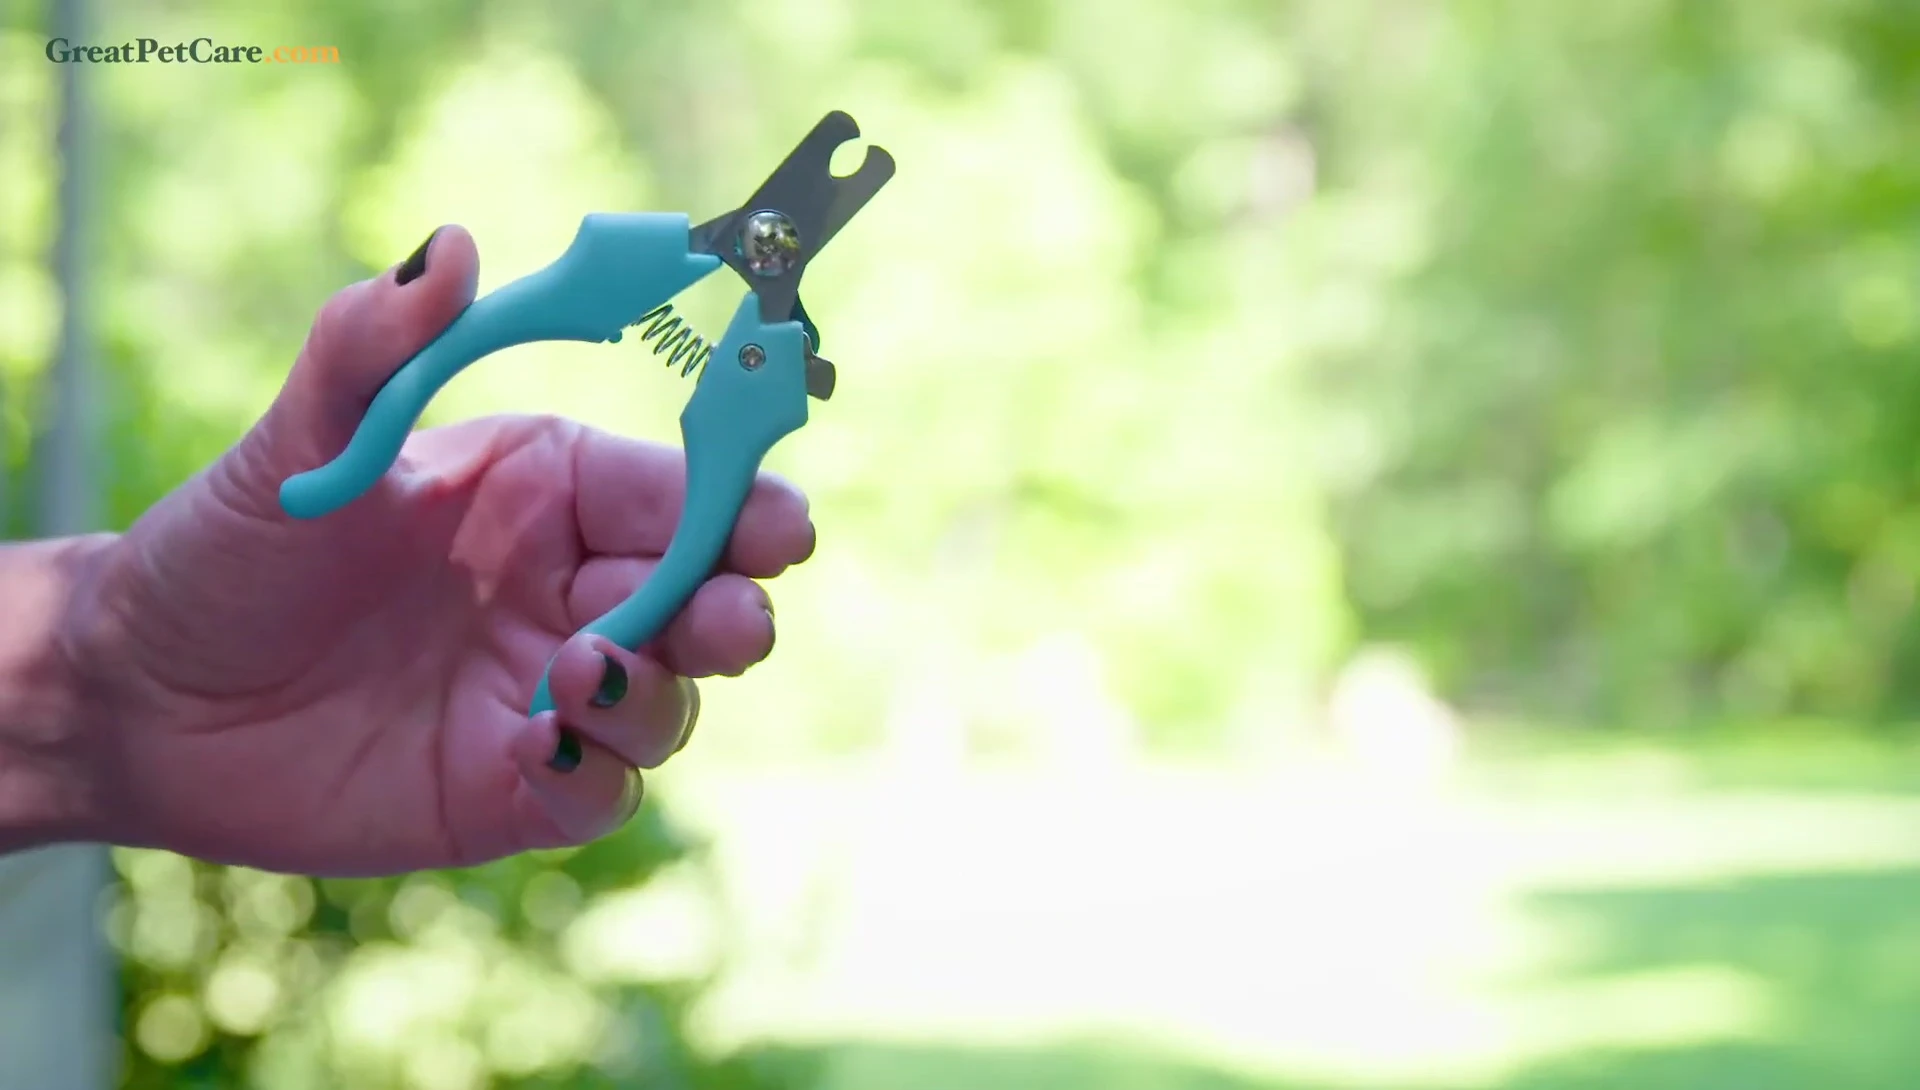
- Have a spring for added strength
- Can be used on dogs of all breeds and all sizes
Read more: 5 Best Double-Sided Cat Brushes: Top Picks Reviewed
Choosing the Right Dog Nail Clippers
Trimming your dog's nails can be stressful, but using the right tools makes it easier. There are three main types: scissor clippers, plier clippers, and guillotine clippers. Scissor clippers are straightforward, while plier clippers offer extra leverage. Guillotine clippers, though potentially precise for small nails, can be difficult to use on larger breeds.

Plier-style clippers are generally versatile and suitable for most dogs due to their added strength. Consider your dog's size and nail type when choosing; smaller clippers work better for smaller dogs. Always ensure your clippers are sharp to avoid discomfort and ensure a clean cut.
Introducing Your Dog to the Clippers
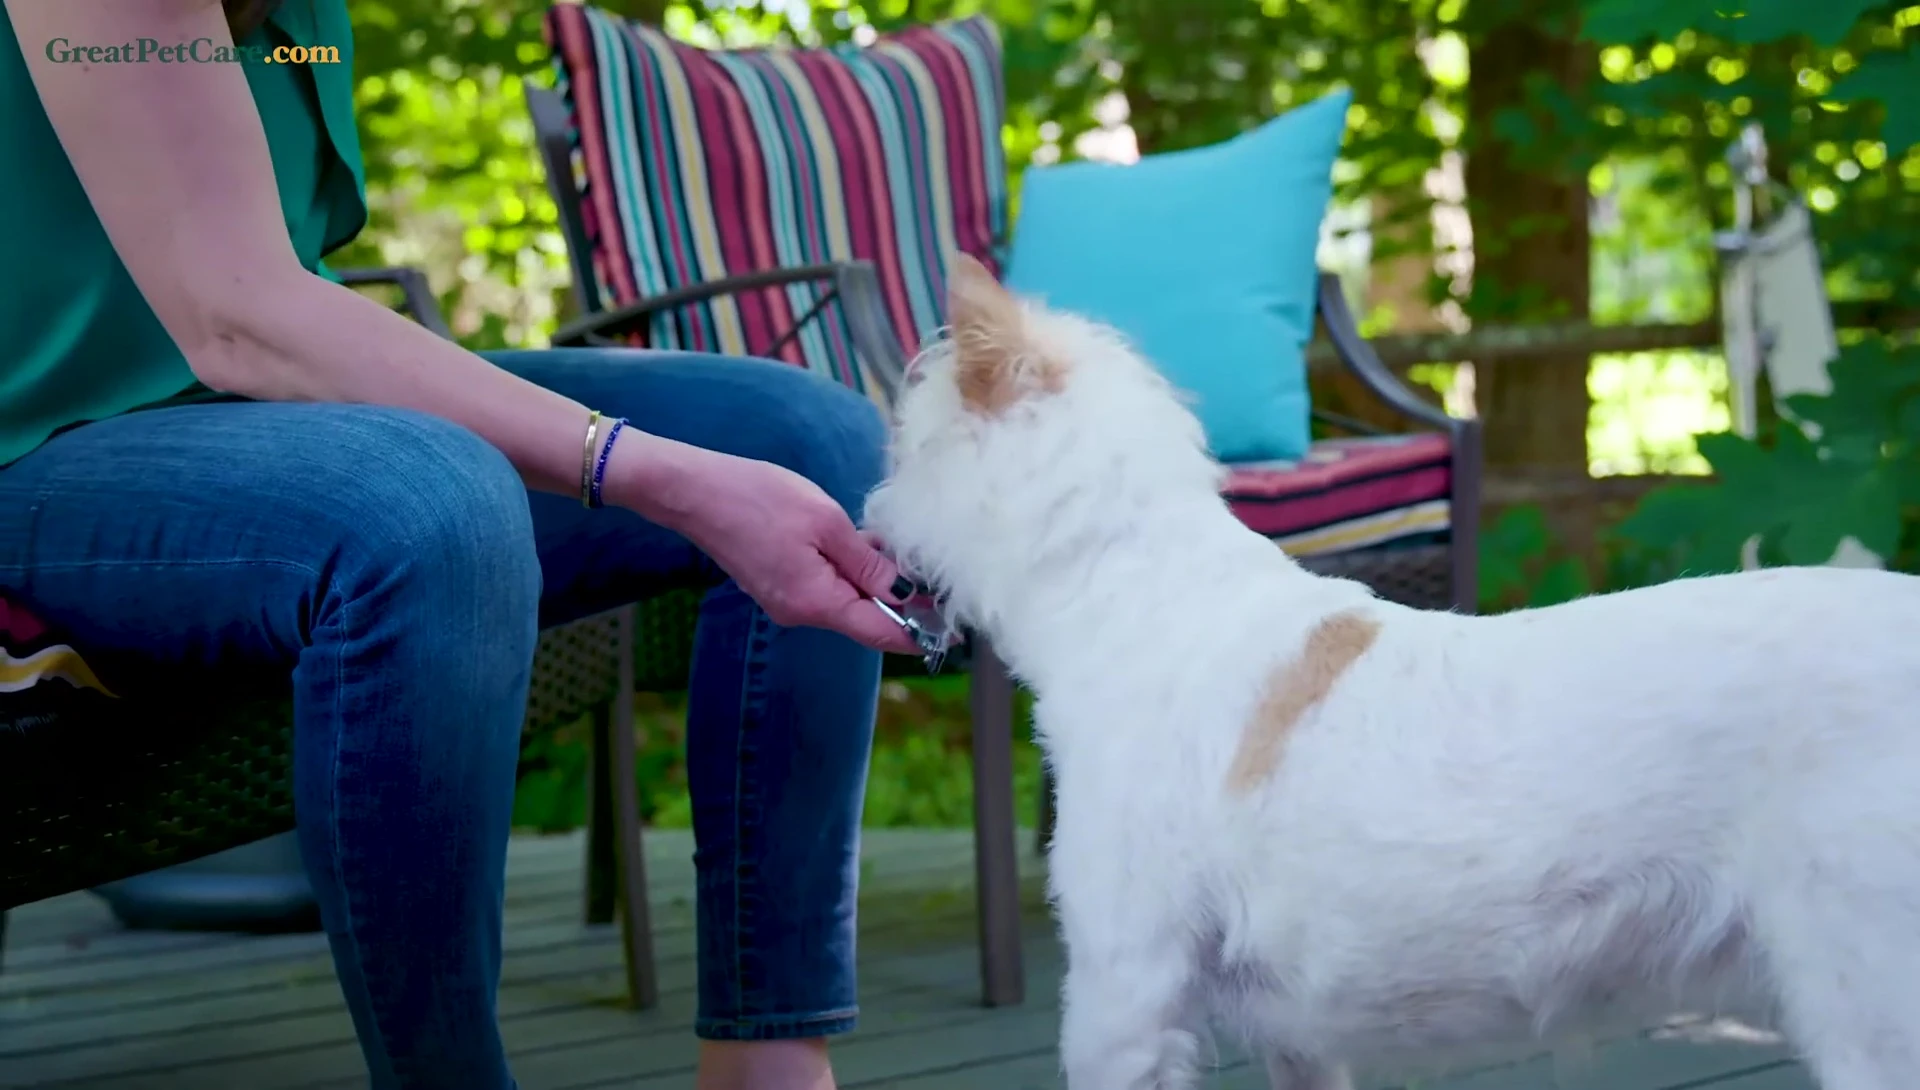
Before you start trimming, familiarize your dog with the clippers. Let them sniff the clippers and offer treats to create a positive association. Gradually move the clippers closer to their paws, rewarding calm behavior. Gently touch the clippers to their paws, offering more treats and praise.

The goal is to make the clippers a non-threatening item. Positive reinforcement is key to a stress-free experience. Take your time and celebrate every small success during this introduction phase.
Restraining Your Dog and Trimming Technique
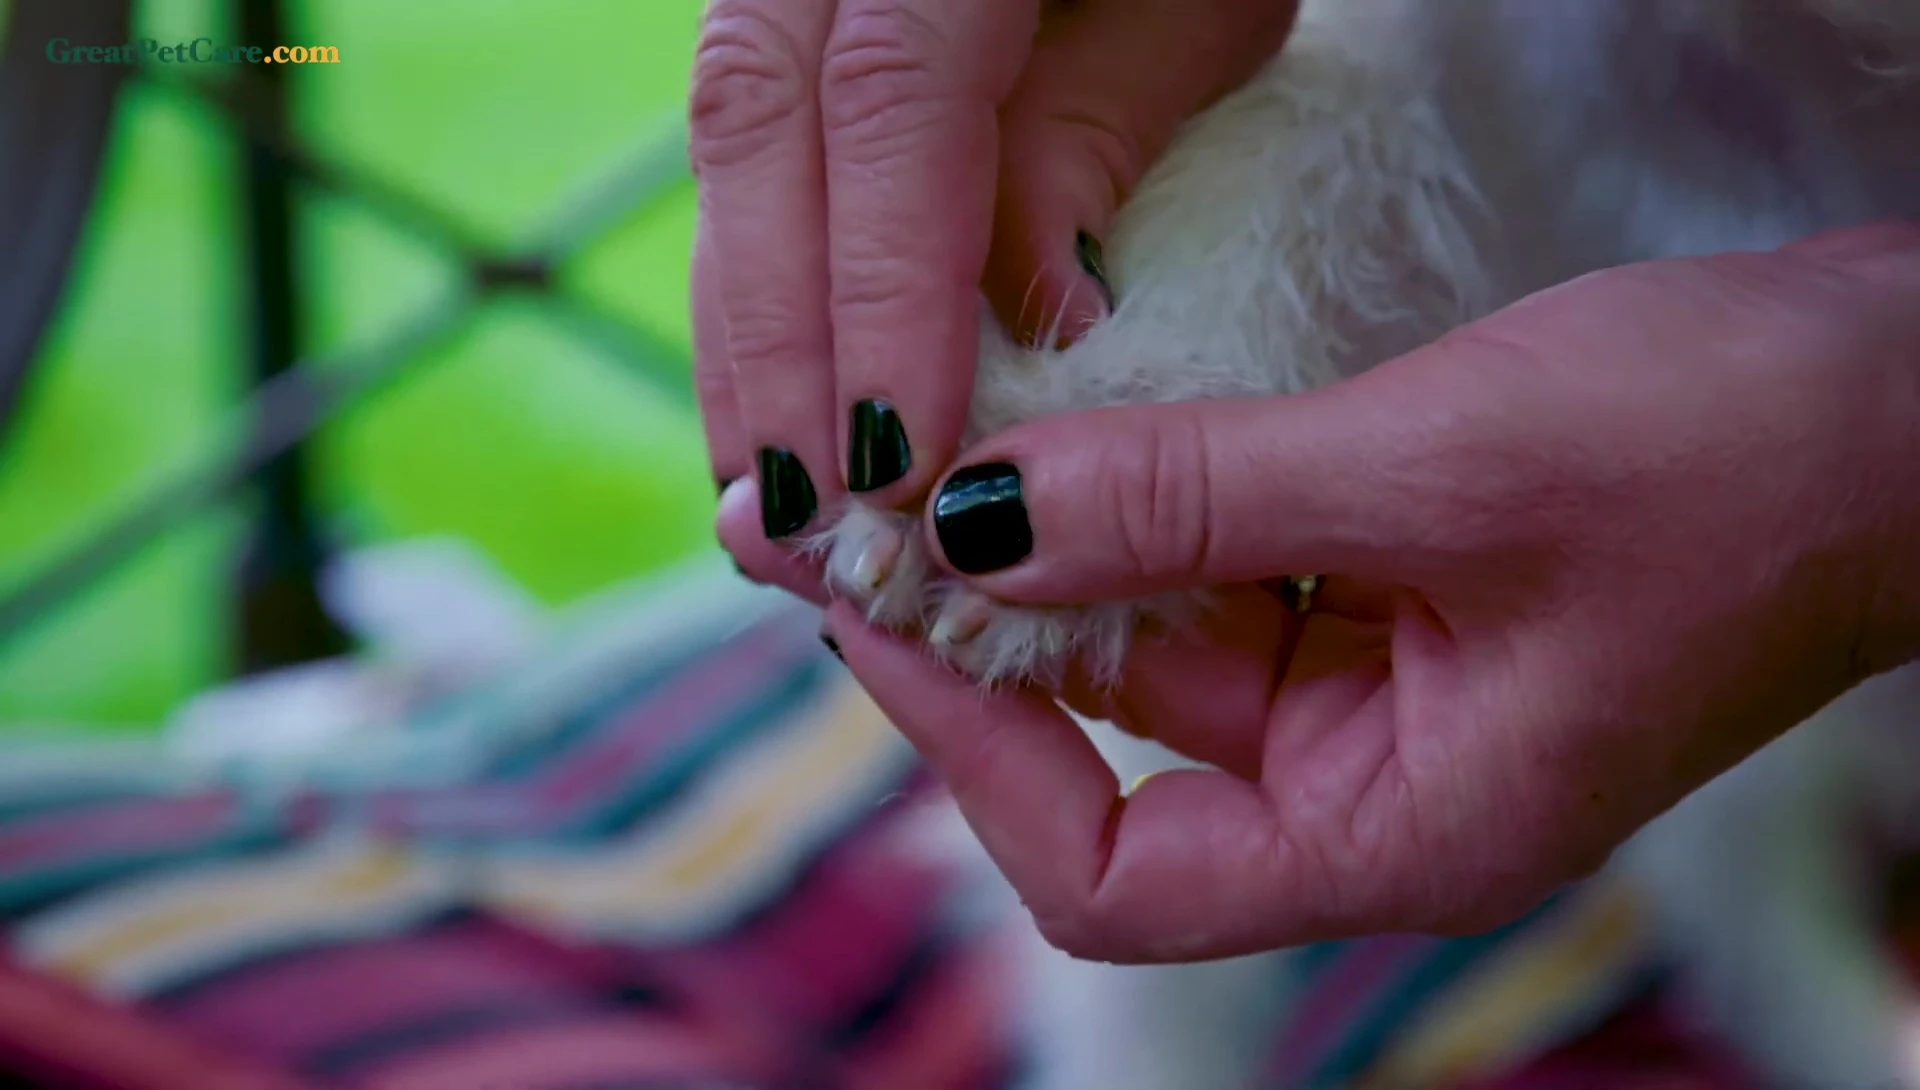
Once your dog is comfortable with the clippers, practice restraining them briefly. Touch the clippers to their paws and reward them. Gradually increase the duration of restraint, simulating the nail trimming position. Remember, the key is to make the experience positive and stress-free for your furry friend.

When trimming, hold your dog securely but gently. For smaller dogs, a table might be helpful. Identify the quick (the pink part of the nail) to avoid cutting it. Trim the nail straight across, a little at a time, particularly with black nails. Always reward your dog after each successful trim.
Conclusion: Patience and Positive Reinforcement
Trimming your dog's nails takes time and patience. Short, frequent sessions are more effective than long, stressful ones. Consistent positive reinforcement with treats and praise will make the experience positive for both you and your dog.
Remember, the goal is to make nail trimming a routine part of pet care that your dog doesn't fear. With patience and a positive approach, you'll successfully trim your dog's nails and maintain their comfort and health.