The Scotty, with its distinctive wiry coat and endearingly grumpy expression, is a breed that demands a specific grooming approach. Unlike many other breeds, a simple brush-down won't suffice for maintaining the Scottish Terrier's characteristic look and ensuring its overall health. Neglecting proper grooming can lead to matting, skin irritation, and even parasite infestations. A well-groomed Scotty, however, is a testament to its owner's dedication and showcases the breed's inherent elegance. Proper grooming involves more than just a quick trim; it's a process that requires understanding the coat's unique texture and the dog's individual needs.
This comprehensive guide delves into the art of Scotty dog grooming, providing a step-by-step approach to achieving a perfectly styled and healthy coat. From preparing your tools and understanding the different clipping techniques to handling delicate areas and maintaining hygiene, we'll walk you through every aspect of the process. Ready to transform your scruffy Scotty into a show-stopper? Let's begin!
Preparation and Safety Guidelines
- Never attempt to groom your Scotty Dog at home if you lack experience. Improper techniques can cause injury to your dog.
- Use sharp, professional-grade grooming tools to prevent pulling or snagging the dog's coat. Dull blades can cause discomfort and skin irritation.
- Always supervise your dog during grooming. A nervous or frightened dog may bite or struggle, leading to accidents.
Step-by-Step Instructions
Preparation
- Bath, blow dry, sanitary (optional unless requested by owner), nails, and pads.

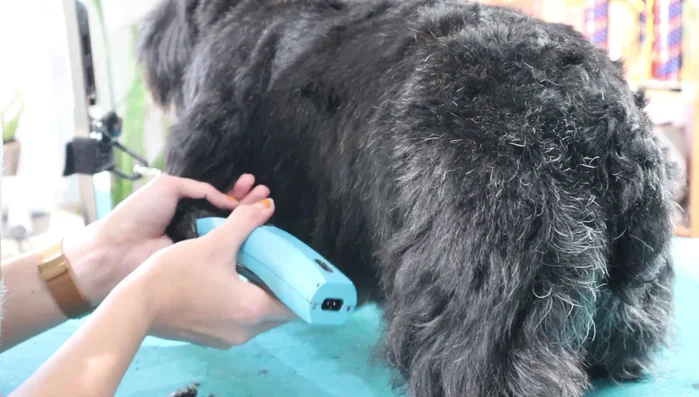
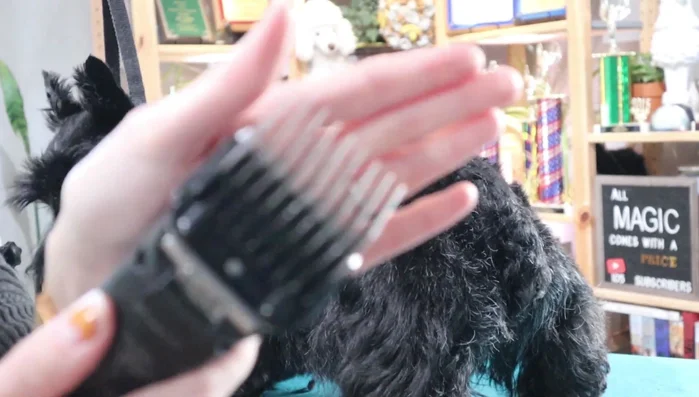
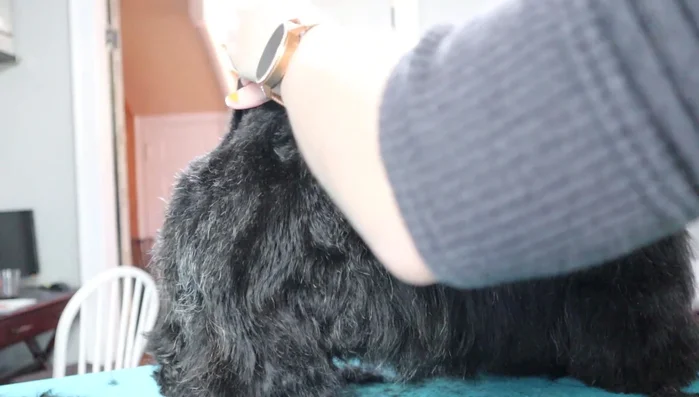
Preparation Body Clipping
- Use a one guard comb (or no shorter than a four guard comb/five blade). Start blend line at the elbow, smoothly blending upwards towards the tail set. Keep the flatwork tight, right up to the ear.
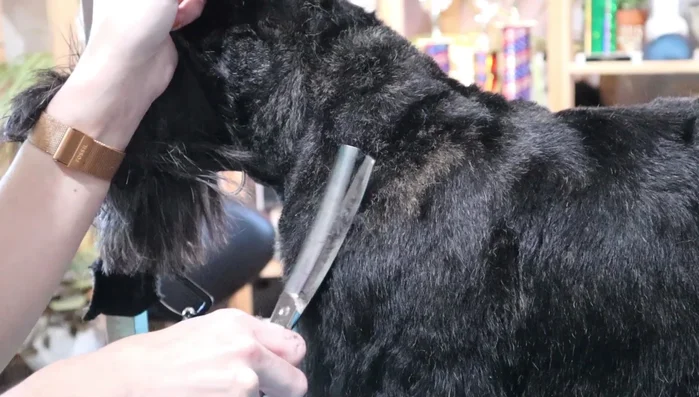
Body Clipping Leg Grooming
- Skim straight down the leg from the widest point, avoiding digging into the muscle or fat. Repeat multiple times for a clean finish. Use the same skimming technique for the rear legs, connecting the blend line smoothly to the body.
- Trim the inside and outside of the legs, using a light lift to help blend the leg into the body. Be careful not to lift the foot too high when trimming near the knee area.
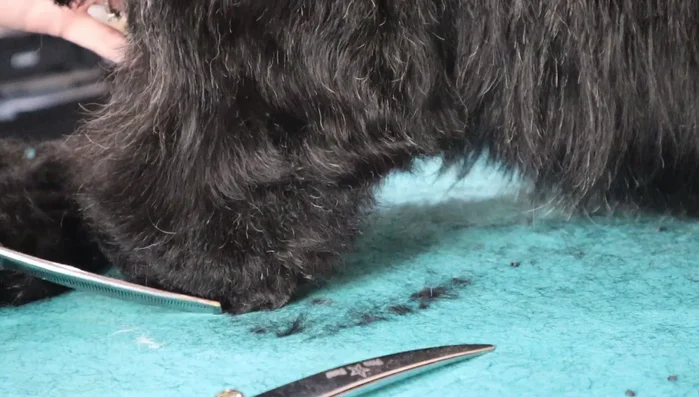
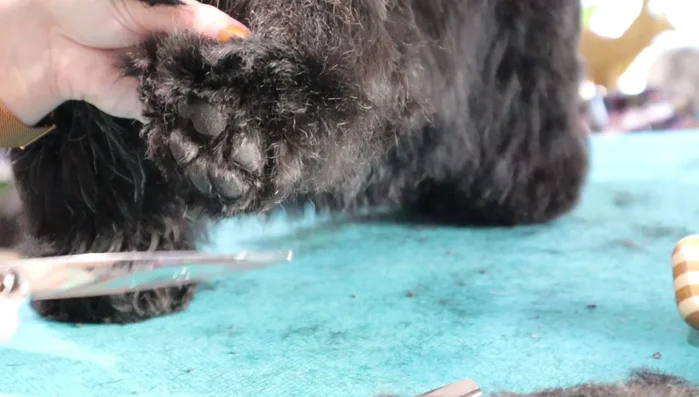
Leg Grooming Foot Shaping
- Round the foot with curved shears, removing hair that extends past the pads. Trim nails before beveling for a cleaner look. Use curved thinners to refine the bevel and remove any harsh lines.
Foot Shaping Rear and Tail
- Scoop off the rear angulation, ensuring a smooth transition from the legs to the body. Trim the tail, aiming for a carrot shape with the base wider than the tip. Keep the back of the tail short.
Rear and Tail Finishing Touches
- Blend clipper lines smoothly, ensuring a seamless transition between short and long hair areas. Comb through and reposition the dog to double-check the lines and make final adjustments.
Finishing Touches

Read more: Mastering Grooming Shears: Achieve a Perfect Cut Every Time
Tips
- For a smoother blend, tug the opposite side of the furnishings to raise the blending line before clipping.
- Avoid digging the clippers into the elbow or rear angulation; skim straight off the body to avoid a chunky look.
- Multiple short layers on the legs create a better look and help prevent flapping hair, which can indicate future medical conditions.
- When trimming the tail, brush hairs to the side to ensure a smooth, even cut and a carrot shape.
- Keep the back end of the tail short for a shorter-bodied look and to prevent poop from sticking.