Cats are meticulous groomers, but even the most fastidious feline needs occasional help maintaining ear hygiene. Dirty or infected ears can lead to discomfort and even serious health problems, so regular cleaning is crucial for your cat's well-being. However, improper cleaning techniques can cause more harm than good, potentially injuring your cat and worsening any existing issues. Understanding the correct procedure is paramount to ensure a safe and effective cleaning experience for both you and your furry friend. Ignoring ear problems can lead to serious infections, so it's important to know how to act.
This guide will walk you through a safe and gentle step-by-step process for cleaning your cat's ears at home. We'll cover everything from choosing the right cleaning solution to the best techniques for a stress-free experience, helping you keep your cat's ears healthy and clean. Following these simple steps will ensure your cat remains comfortable and happy, while preventing potential ear infections and other complications.
Preparation and Safety Guidelines
- Soft towel
- Gauze
- Cat ear cleaner
- Never insert anything into your cat's ear canal beyond the outer ear flap. You could damage the eardrum.
- If you see any signs of infection (redness, swelling, discharge, odor), consult a veterinarian immediately. Do not attempt to clean the ears yourself.
- If your cat resists cleaning, stop immediately and seek veterinary assistance. Forcing cleaning can cause injury and stress.
Step-by-Step Instructions
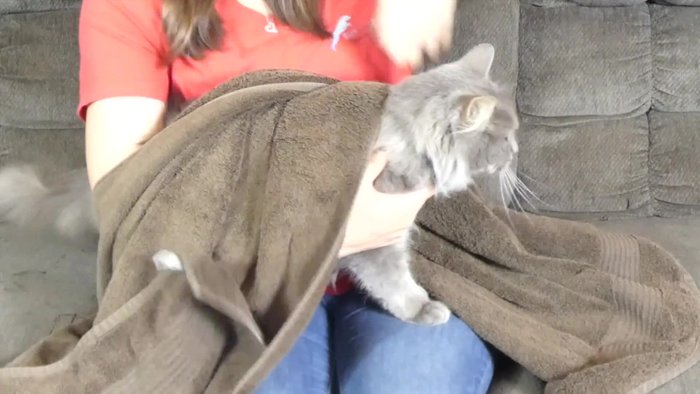
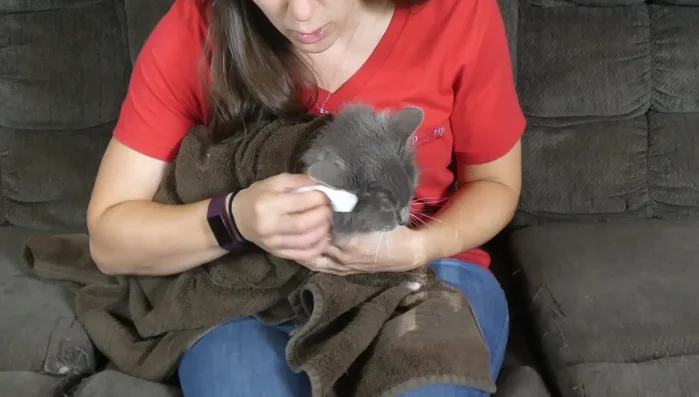
Prepare your cat and supplies
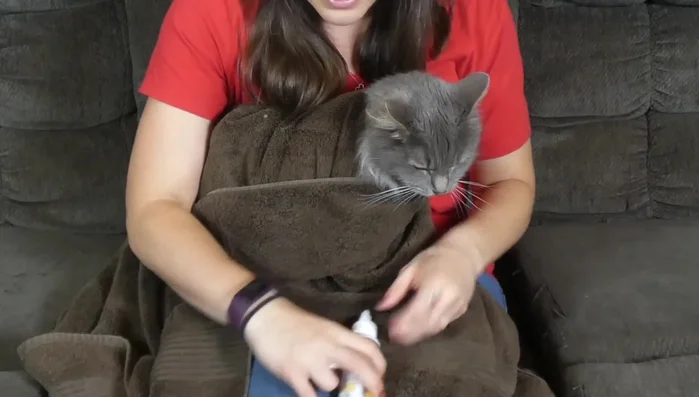
- Wrap your cat in a towel to prevent scratching and keep them still.
- Use cat ear cleaner (not dog ear cleaner, peroxide, or hot water).

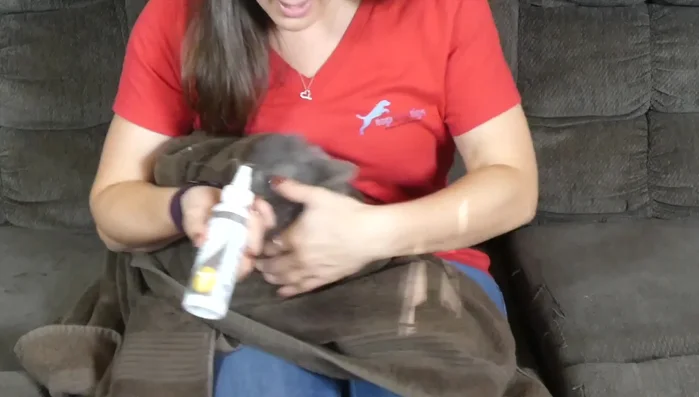
Prepare your cat and supplies Clean one ear
- Hold the flap of your cat's ear and fill the ear canal with ear cleaner.
- Massage the base of the ear for a few seconds to allow the cleaner to work.
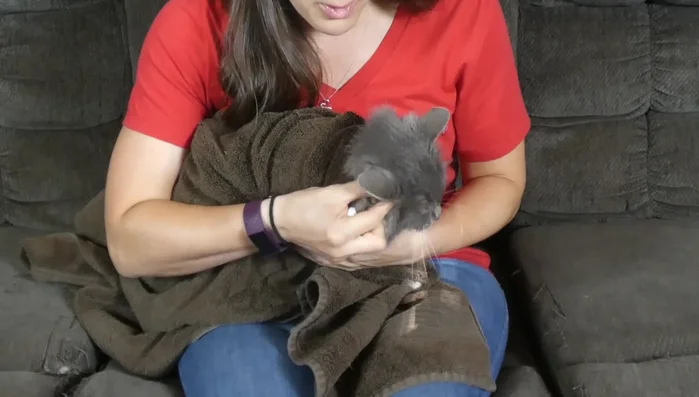
- Use a piece of gauze to gently wipe the ear canal and the outer ear flap.
Clean one ear Clean the other ear
- Repeat steps 3-5 for the other ear.
Clean the other ear

Read more: Complete Guide: Cleaning Your Cat Without Water
Tips
- Never use Q-tips to clean your cat's ears; they can cause damage.